| Wangan Midnight Expressway · Forum Guidelines | Donation · Gallery · Soundtracks · Help · Search · Members · Calendar |
| Welcome Guest ( Log In | Register ) | Resend Validation Email |
| 2 Pages |
 |
Thread Rating: 1 votes, 5.00 average. Rate:
| StraightAwayZ |
Posted: Jun 3 2009, 07:30 PM
|
|
Legendary Emperor  Group: Members Posts: 296 Member No.: 1,547 Joined: Nov 28th 2007 Location: Update Profile |
A small handfull of you know about my project, but most of you will not- This has been an ongoing project of mine for a long, long time- and things are finally starting to pull together. Now might be a fun time to let the secret out.
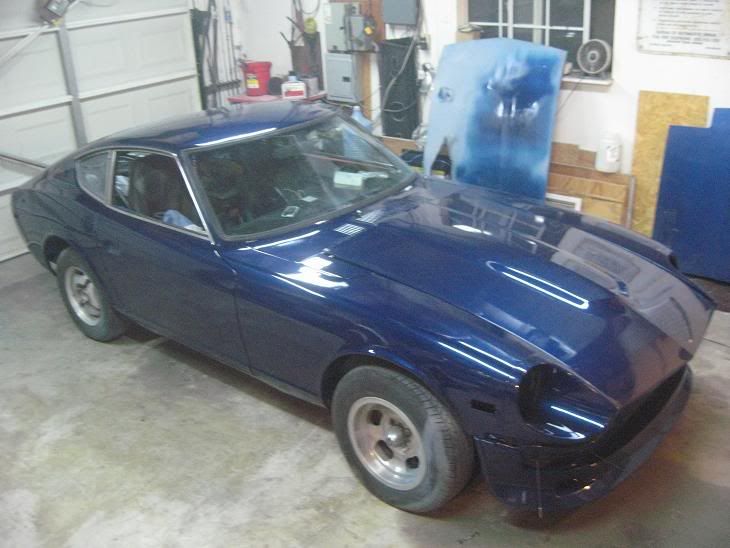
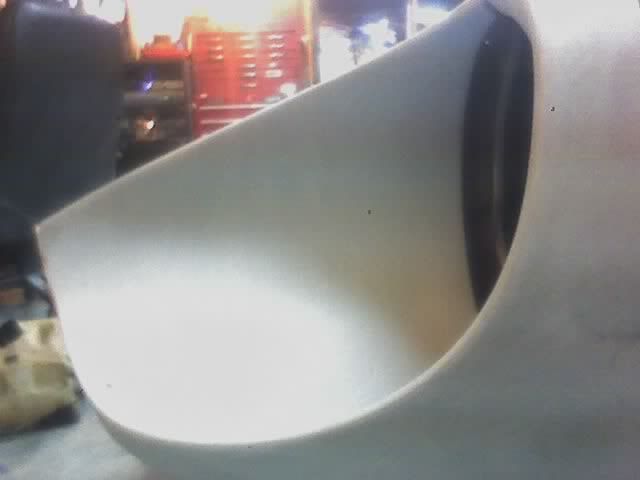 (following picture added april 11th) 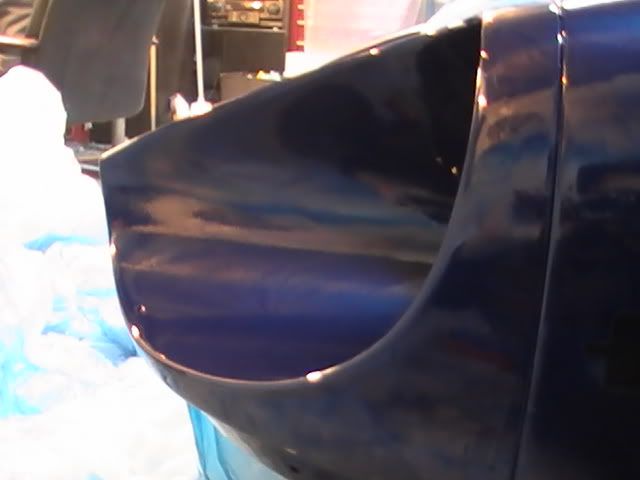 Its just a tease, for now- This thread WILL be updated with many pictures within a few days as it all starts to fall together, and will be updated again in a couple of weeks as the project really takes off. Ill update it over the following months as more progress comes along, I have and will continue to take pictures of what im doing- So keep an eye out for updates. ===================================================== April 11th 09. Finally got the pictures, not the greatest quality but you can see what was going on, Ill keep updating this post with more information as time goes on and I feel less lazy. As I do new things to the car I will also update this again with my current work. Id only done a few minor things before this, but over all this is how it showed up when me and my buddy started working on all the body work. As you can see, one hell of a project to start. 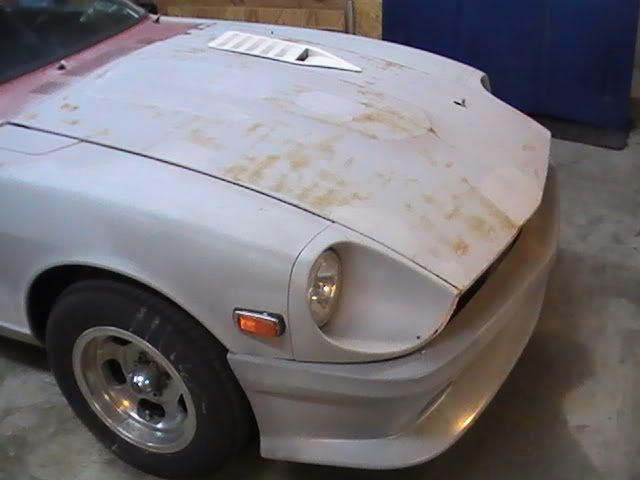 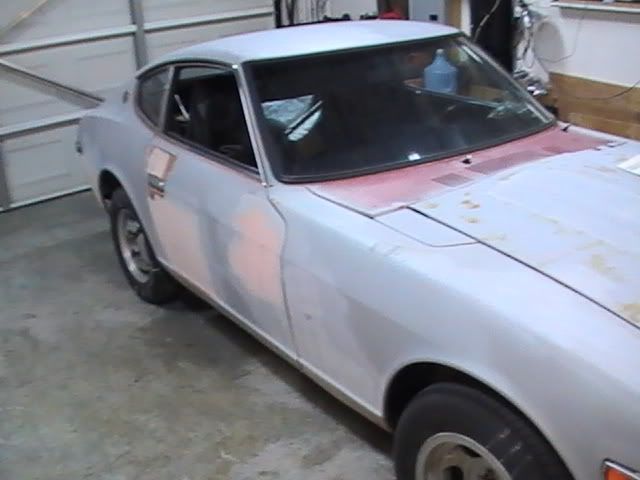 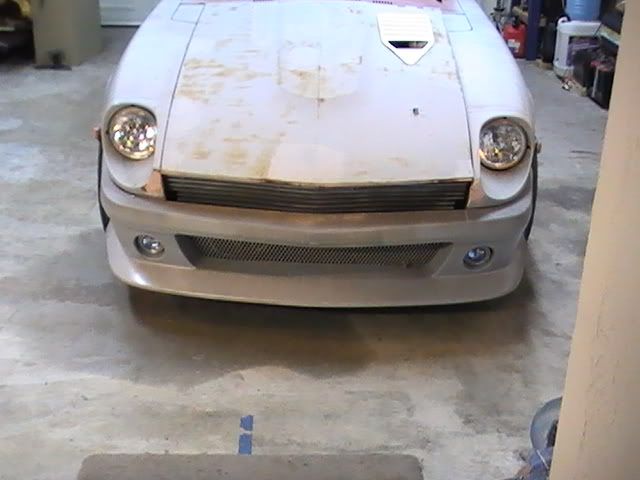 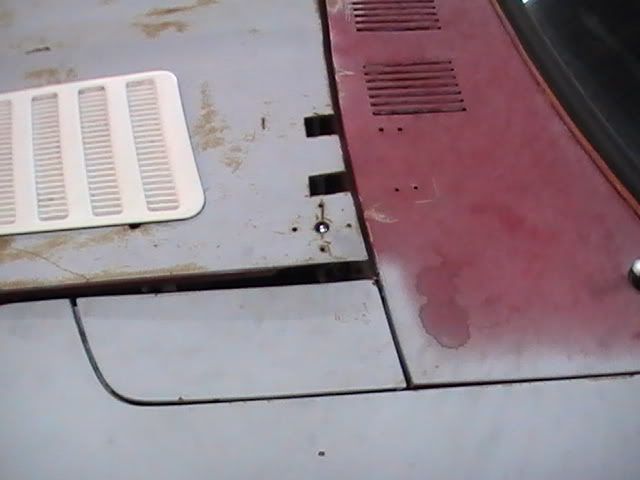 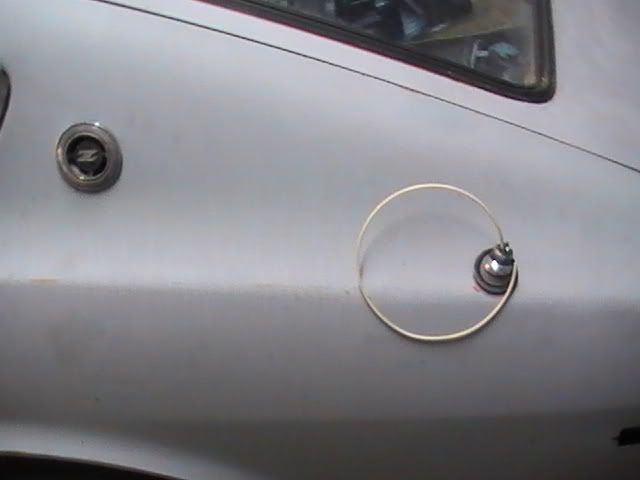 The guy before me thought hed done a decent job on the bondo.. 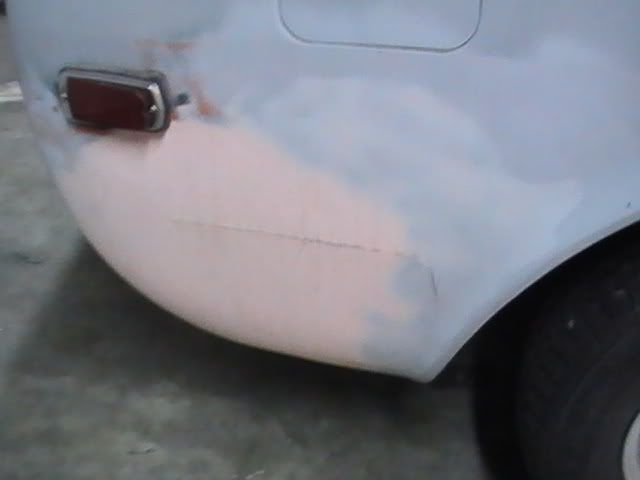 Mm cracked bondo. Sadly this was all over. The previous owner tried to shave the rear as well, unfortunetley they also thought itd be a good idea to just lay in a good 1" of bondo to do so. The remedy? Dig it out and do it right. Remove all the mierda, weld in a panel to reduce the layer of bondo needed, grind the welds, and recover. A tube was inserted into the back that vents into the body behind the panel to act as a vent to release pressure that could build up during the hotter summer days. Needed? Dont know. But i dont want to find out the hard way during summer it was and have the body filler crack all over again. 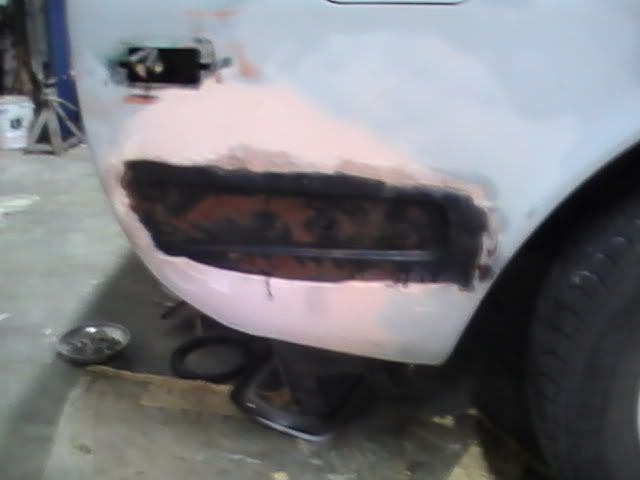 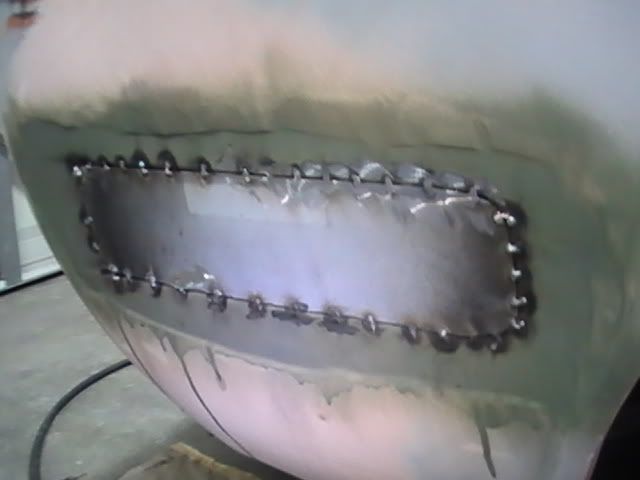 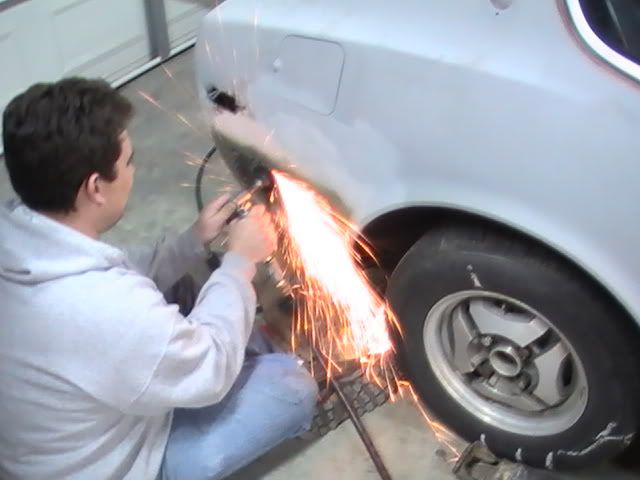 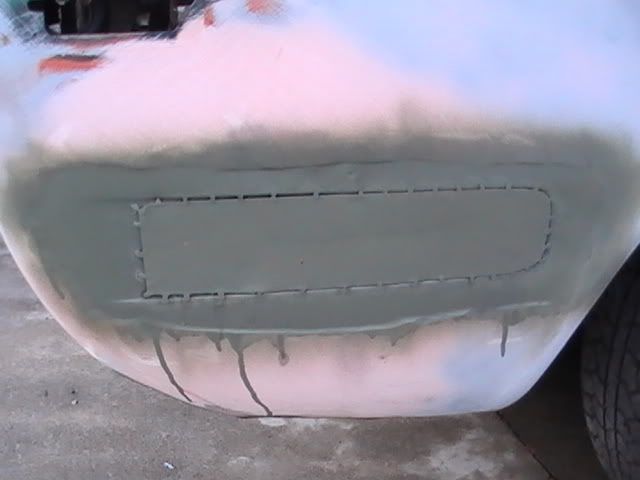 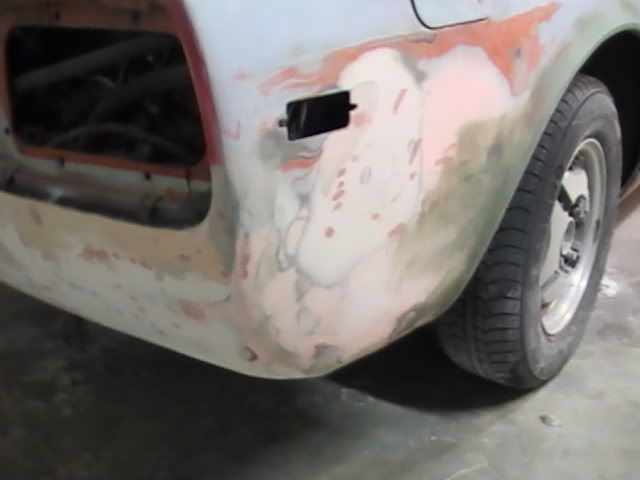 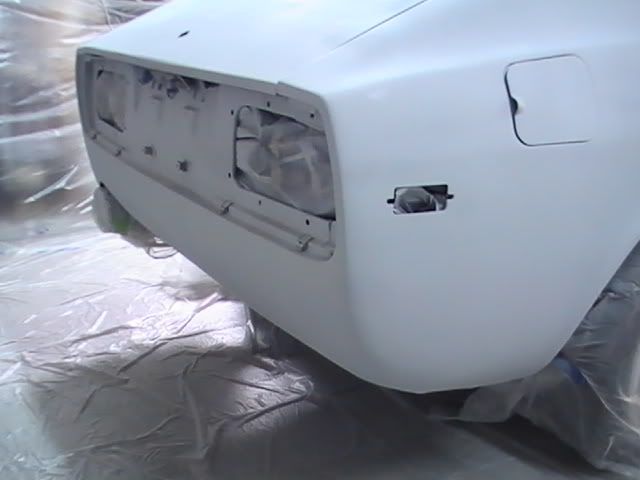 This was done equally on both sides and the rear, so no need to post those. Also decided to remove the antenna, I rarely if ever listen to the radio, like the look- and ive got a sattelite radio anyways if i care to bother. So, Off with it. 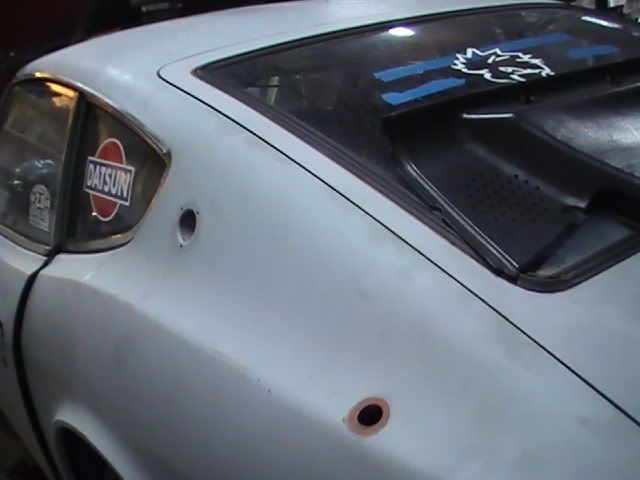 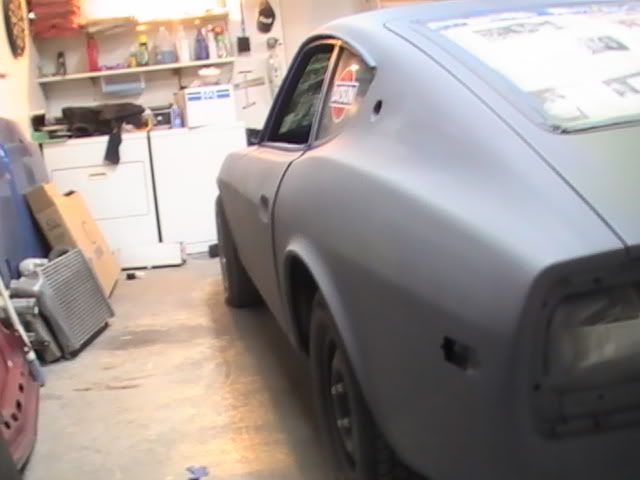 Sadly I cant find the pictures of the build up process- But it was given the same one-over. A filler panel was welded to the back side the nground down smooth, a layer of body filler added to the top, then sanded smooth (with a pvc pipe as a sanding block no less). No other interesting photos of body work, but minor (and major) dents were filled, all emblems were removed, etc. Once it was done the body was primed, lightly coated, and then wet sanded to as smooth a finish as we could get. Made a HUGE difference in the peel on all following layers and gave me a lot less work and hassle to deal with. 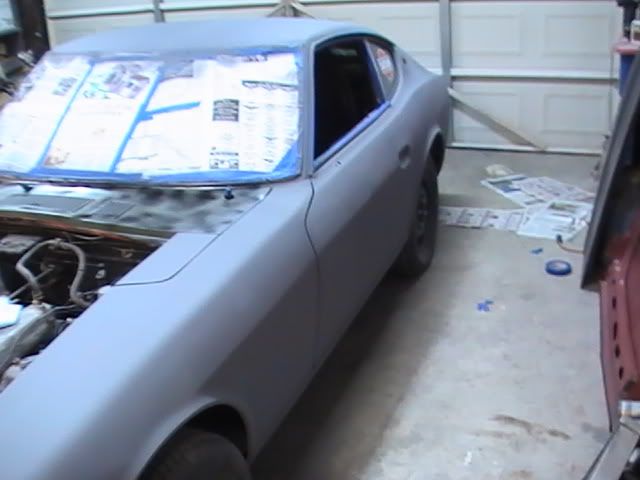 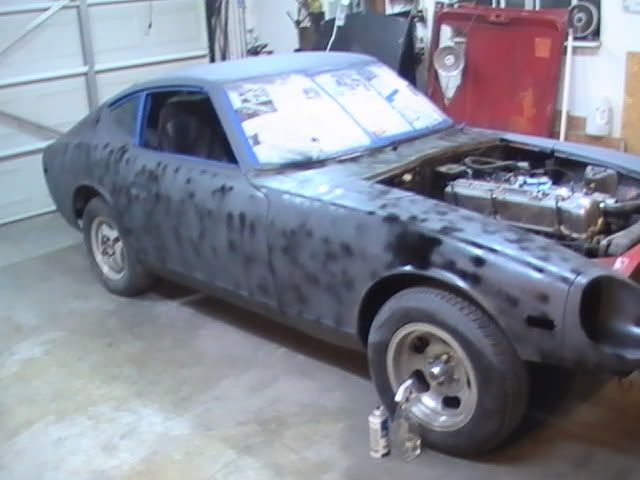 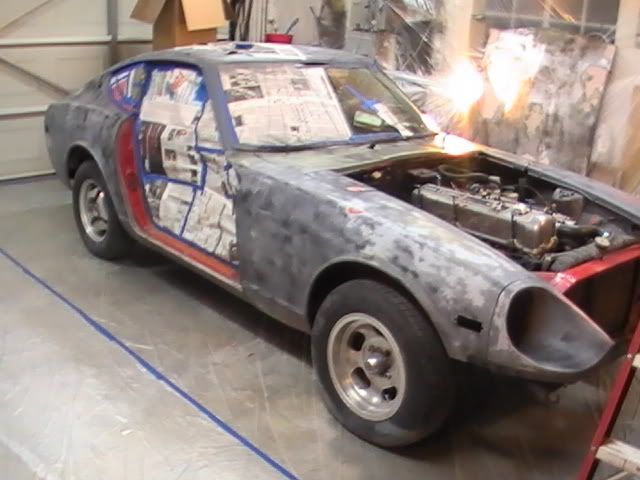 This was just done with basic cheapo rattle can primer, but after that the doors were removed, the car was masked, and we started the real painting. Starting with the first layers of an actual automotive primer. This stuff is VERY thick, and hardens beyond anything youd expect (with dated 70s chassis and metal tech this this outer shell increased the chassis rigidity about 50%. This is based on nothing but pure speculation.) 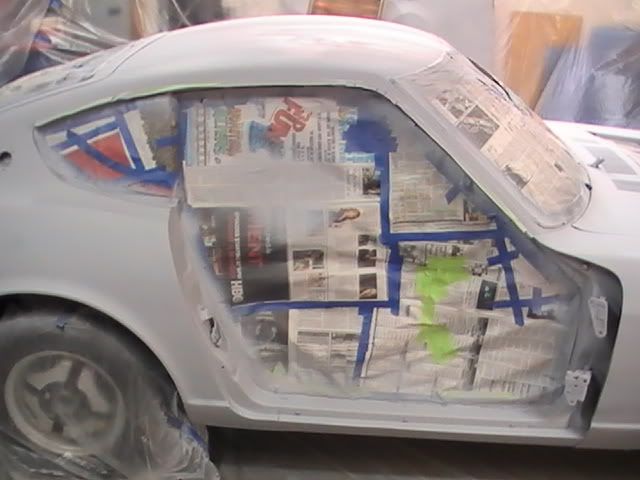 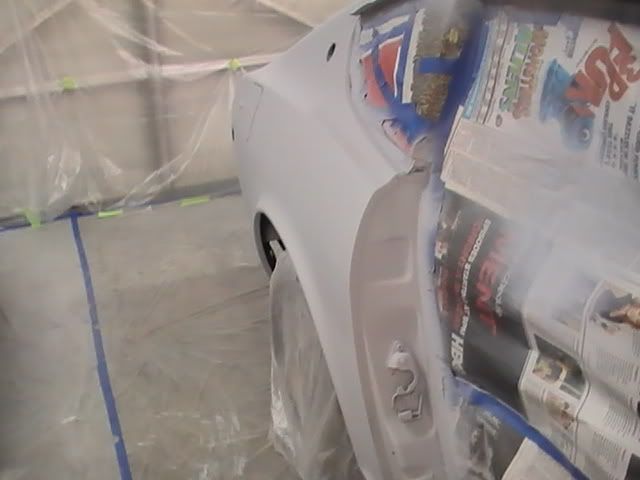 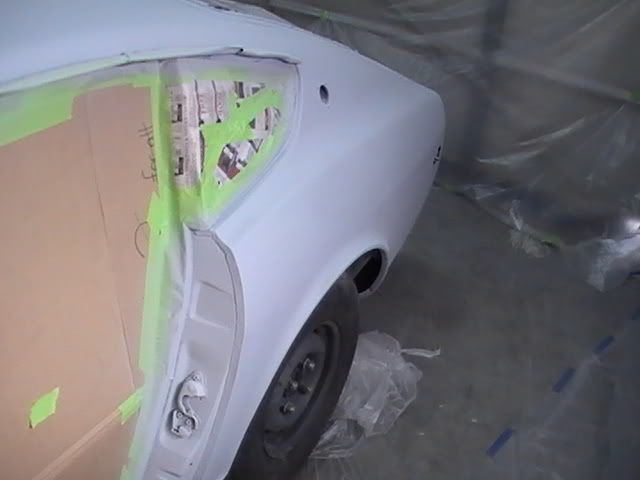   From here all minor imperfections were sanded and dealt with (to the best of my ability), and then the color was added. Because of how you need to paint this the base and clears needed to be applied one after the other, so i never had much of a chance to get inbetween shots. But either way 3-4 coats of base and then 3 coats of clear later, this was the result. 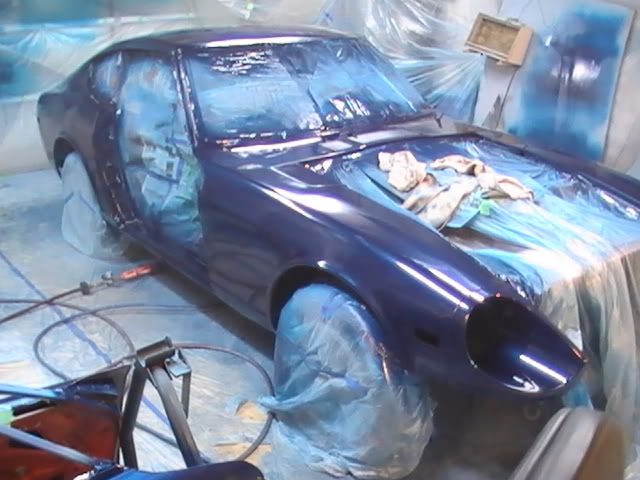 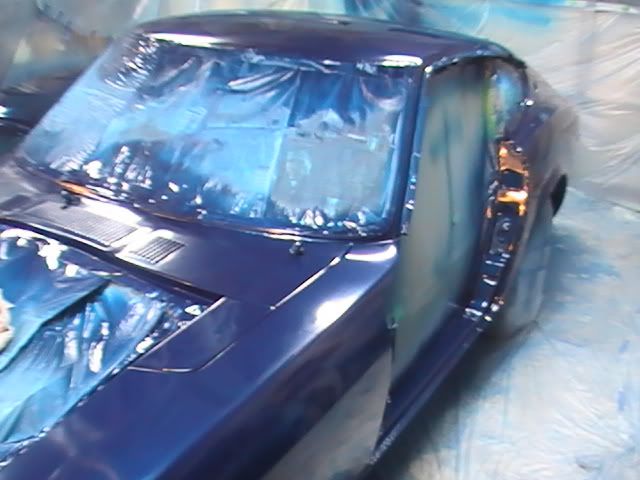 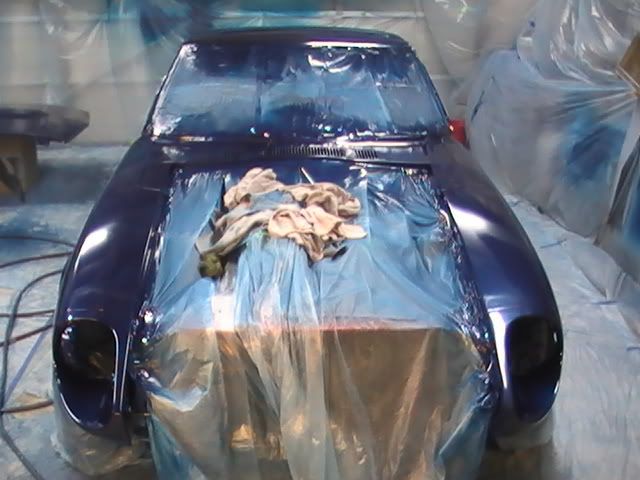 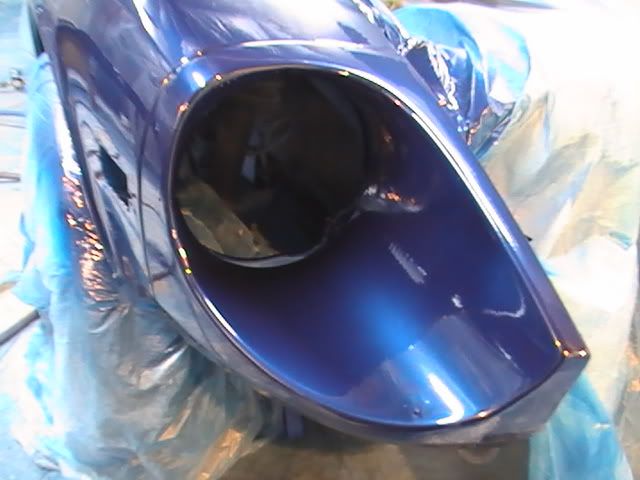 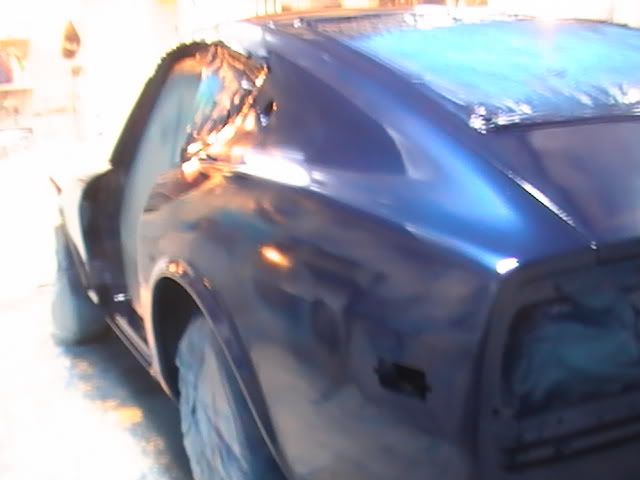 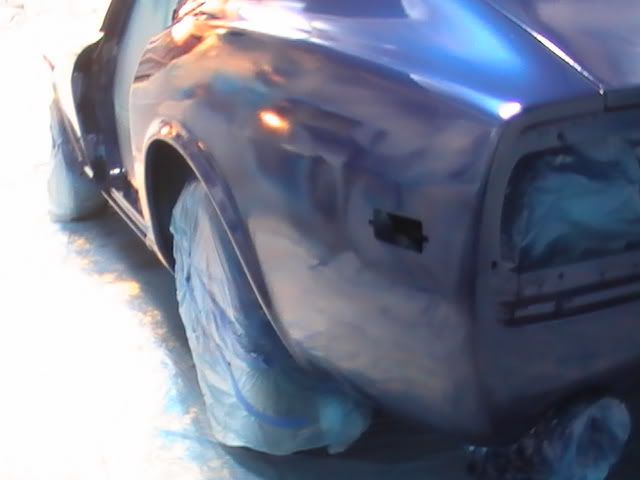 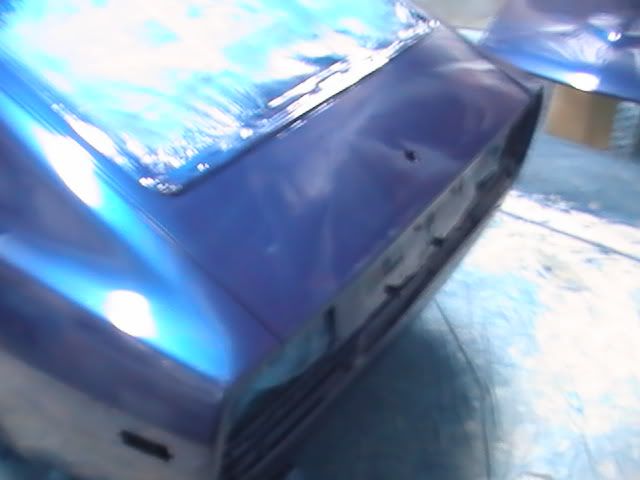 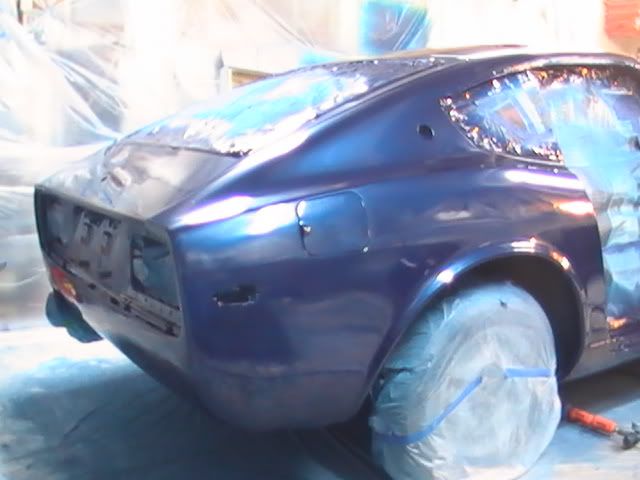 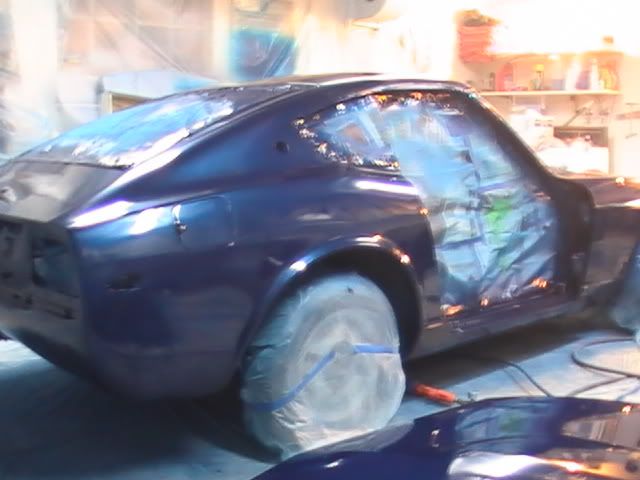 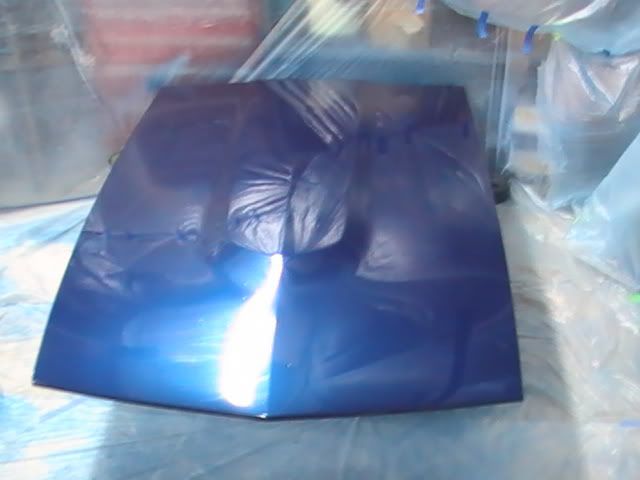 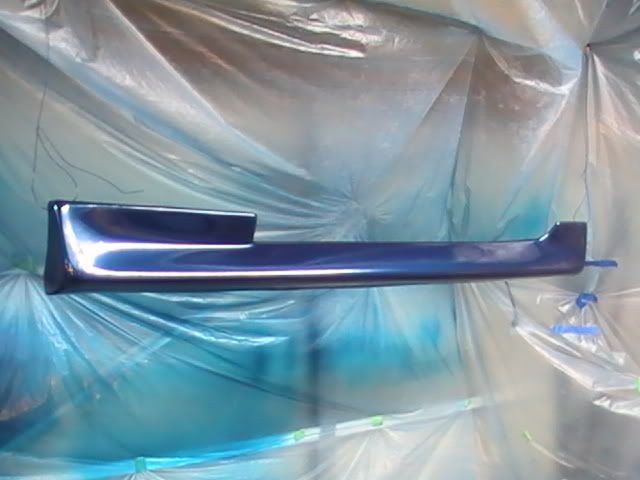 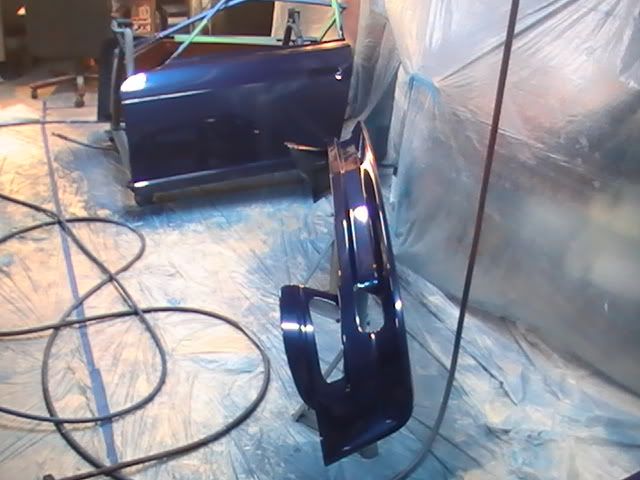 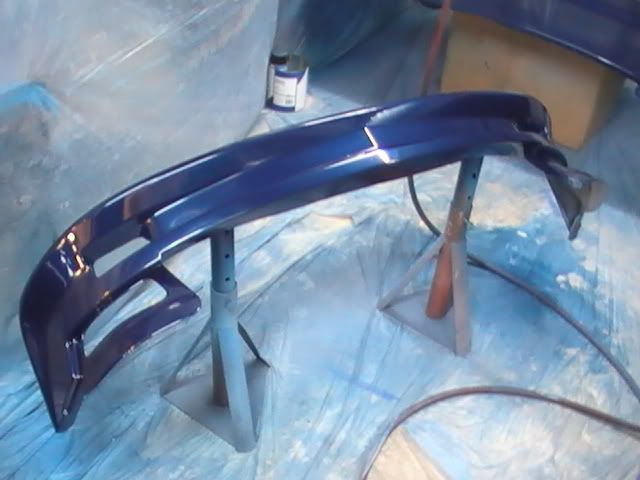  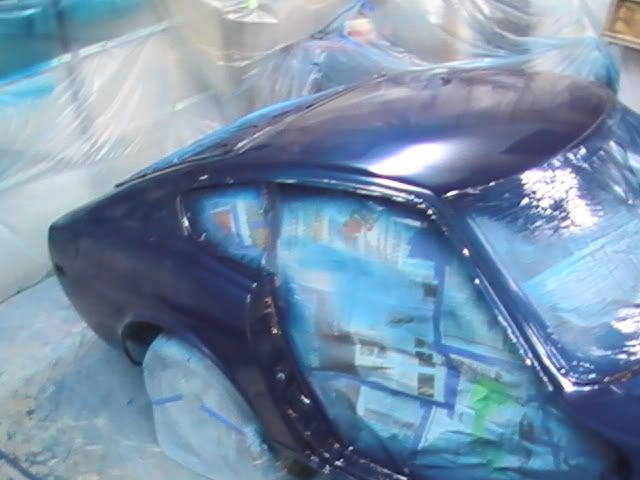 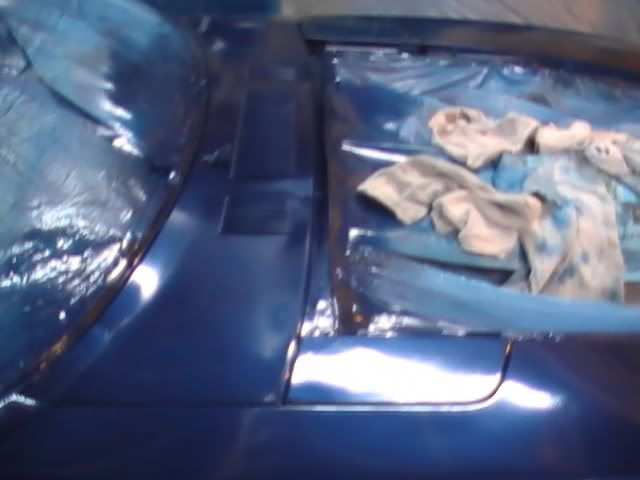 The gloss is MUCH better in person than in these pictures, light in the room is covered by a piece of plastic (Theres plastic on ALL walls, above to the sides and below), and it adds funny reflections. if you look at some of the pictures though you can easily make out objects far away from the car. Overall, sure its not perfect. But Im still VERY pleased with my results I got. This is my first time painting a car, I think its pretty damn good for two guys with a paint gun in a garage. The car still needs to be buffed out as well once the coats are finished curing completley- Ill have more pictures once thats done and the car is put back together. next major update will be the engine, from the mods, build up, and dyno numbers. keep tuned. Update: May 13th, 2009 My hundreds of parts and nuts and bolts and seals and whatnots are finally starting to come together and resemble an engine. It will be 99% finished by tonight. Im still waiting on some freeze plugs i ordered to show up, but thats no big deal. It will be a fully assembled motor beyond that by tonight. 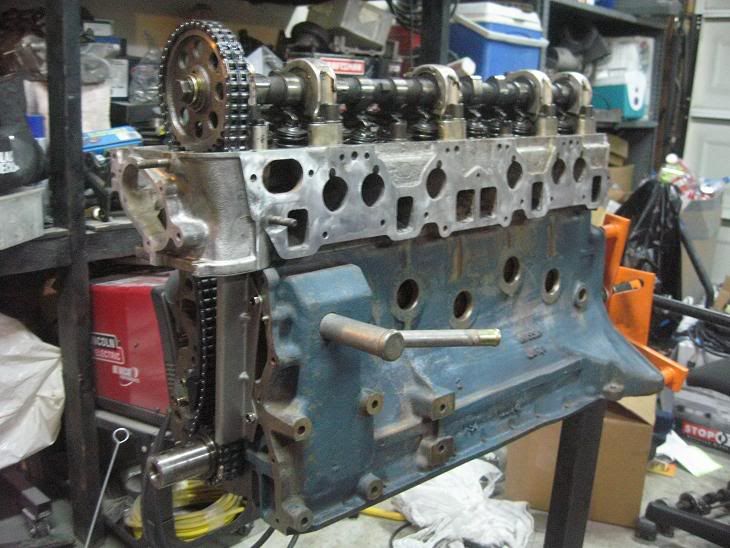 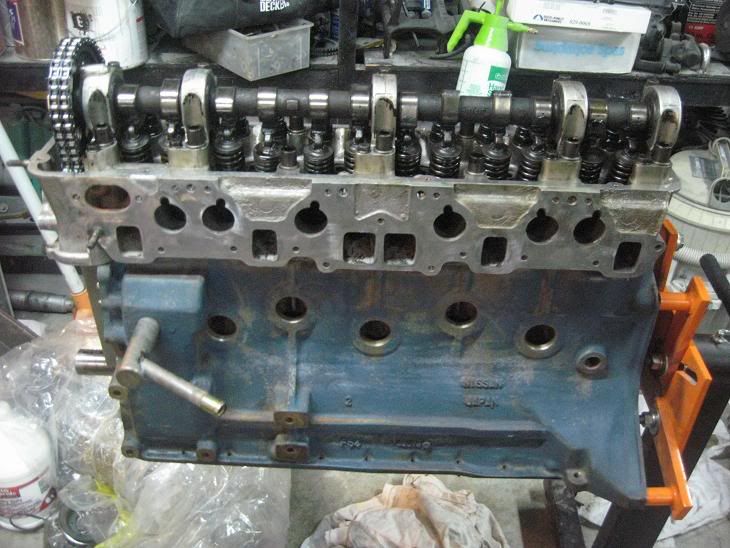 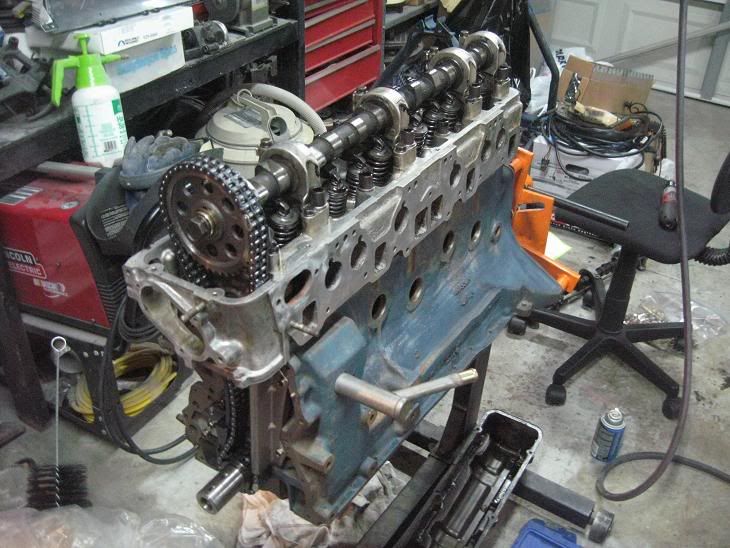 Some bad luck has limited my work on it as of lately, but Ill be cracking down on it again soon. Next update should have fully mounted and in the car- Which will quicky be followed by it on the dyno with some graphs and numbers. Im shooting for over 300 whp, well see what happens. This post has been edited by StraightAwayZ on Jun 3 2009, 07:30 PM |
|
|
| DOHC |
Posted: Jun 3 2009, 07:38 PM
|
|
i like nuts Group: Advanced Members Posts: 2,846 Member No.: 374 Joined: Jul 7th 2007 Location: Update Profile |
I like how your project is coming along StraightAwayZ and 300 is kinda easy for the l28 ..somewhat...wait why 300 =p?
|
|
|
| StraightAwayZ |
Posted: Jun 3 2009, 10:45 PM
|
|
Legendary Emperor Group: Members Posts: 296 Member No.: 1,547 Joined: Nov 28th 2007 Location: Update Profile |
300 isnt some magical number im shooting for, just hoping for at least that much. Why? No exact reason beyond it will be plenty fast for myself, its really nothing more than a "goal" i set for myself as something to aim at. Though that said, 3-350 is what Ive seen l28s hit time and time again safely. Ive seen a few hit 400 with some major boost (or a lot less boost with some head work, but seeing as I lack that..), but that seems to be the "accepted" limit of stock pistons- and they can be rather tricky around there. Its as far as i feel safe pushing things
 |
|
|
| Oddmanout84 |
Posted: Jun 4 2009, 06:28 AM
|
|
Resident Alcoholic Group: Advanced Members Posts: 1,033 Member No.: 3,693 Joined: Sep 25th 2008 Location: My garage, waiting for overnight part from JP |
GREAT job, that paint looks awesome. What brand is it? I'm guessing from the photos its a two stage metallic, which is especially hard to lay correctly. More credit to you!
I sure wish I had that kind of space in my garage for when I painted. I had literally 2 feet or less in some areas because of walls and columns that really limited the size on my paint tent. Once I find a bigger garage or tent, I will be painting my Z again! |
|
|
| JDMMA70 |
Posted: Jun 4 2009, 11:51 AM
|
|
Request Title - PM Mods Group: Advanced Members Posts: 786 Member No.: 123 Joined: Apr 7th 2007 Location: Houston, TX |
man that cam are like perfect
This post has been edited by JDMMA70 on Jun 4 2009, 12:02 PM |
|
|
| Betrayal Jack Kn.. |
Posted: Jun 4 2009, 01:40 PM
|
|
Request Title - PM Mods Group: Members Posts: 308 Member No.: 2,001 Joined: Jan 17th 2008 Location: Pennsylvania, USA |
Awesome work, though do tell, aftermarket wheels in the works?
|
|
|
| StraightAwayZ |
Posted: Feb 8 2010, 02:09 AM
|
|
Legendary Emperor Group: Members Posts: 296 Member No.: 1,547 Joined: Nov 28th 2007 Location: Update Profile |
How time flys. Ill give this a more extensive update real soon- but to cut a long story short, she finally lives and was tuned at our shop.
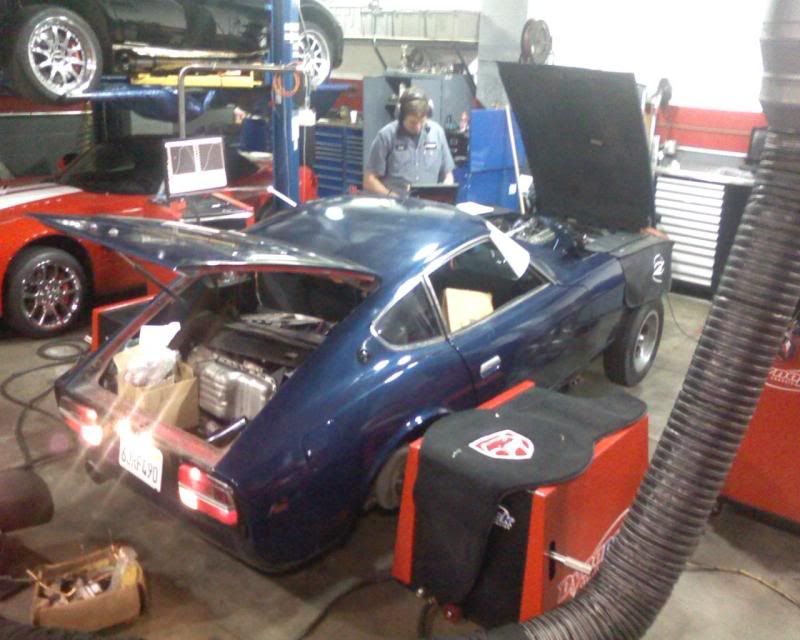 The results? 300 whp, and 360 pounds wheel-torque @ 18 psi. This post has been edited by StraightAwayZ on Feb 8 2010, 02:10 AM |
|
|
| jizzmo |
Posted: Feb 8 2010, 05:21 AM
|
|
WME Regular Group: Members Posts: 5 Member No.: 5,367 Joined: Jun 13th 2009 Location: brisbane,Australia |
im sober!
|
|
|
| Betrayal Jack Kn.. |
Posted: Feb 8 2010, 08:34 AM
|
|
Request Title - PM Mods Group: Members Posts: 308 Member No.: 2,001 Joined: Jan 17th 2008 Location: Pennsylvania, USA |
Long time coming huh?
|
|
|
| StraightAwayZ |
Posted: Feb 8 2010, 10:53 AM
|
|
Legendary Emperor Group: Members Posts: 296 Member No.: 1,547 Joined: Nov 28th 2007 Location: Update Profile |
Very long time. I got lucky and had some great help from great friends.
One of the earlier dyno runs- Unfortunately the dyno computer was shut off before i got to save my high boost runs, but the earlier ones were. This was the last run at wastegate pressure, which is about 9.x psi (Stays pretty flat at a hair under 10 psi from 3k onwards)  If we get bored here ill strap it back down and record an 18 psi run. We do have video of the 18 psi run, thatll be uploaded soon. |
|
|
| Force Fed Mopar |
Posted: Feb 8 2010, 06:32 PM
|
|
WME King Tiger Group: Advanced Members Posts: 822 Member No.: 720 Joined: Aug 30th 2007 Location: SC |
Pretty sweet man.
|
|
|
| sidewaysstarion |
Posted: Feb 9 2010, 09:17 AM
|
|
The Staz Drifter Group: Members Posts: 29 Member No.: 6,116 Joined: Nov 14th 2009 Location: Torrance California |
so we are just friends... I see how it is.
well that car is down right scarey to drive even at 9 psi of boost. its got no suspension to speak of and 1st and 2nd gear are all wheel spin even at 9 psi and if you turn it up to 15 psi you will have wheel spin in 3rd. This post has been edited by sidewaysstarion on Feb 9 2010, 09:19 AM |
|
|
| StraightAwayZ |
Posted: Feb 9 2010, 10:15 AM
|
|
Legendary Emperor Group: Members Posts: 296 Member No.: 1,547 Joined: Nov 28th 2007 Location: Update Profile |
Sorry baby, but ive got a new love in my life
|
|
|
| S12 Drifter |
Posted: Feb 9 2010, 12:30 PM
|
||
|
Devil Z31 Group: Advanced Members Posts: 500 Member No.: 2,996 Joined: Jun 5th 2008 Location: Florida |
thats what i want my Z31 to do one day =[ maybe even a 4th gear wheel chirp =[ good project tho. |
||
|
|
| StraightAwayZ |
Posted: Feb 9 2010, 01:52 PM
|
||||||||||
|
Legendary Emperor Group: Members Posts: 296 Member No.: 1,547 Joined: Nov 28th 2007 Location: Update Profile |
All credit for these videos goes to our buddy nomake- thanks again man. These are all fairly recent videos, before and after tuning BEFORE!
Believe it or not, in both of these instances, the car was floored- The turbo was already removed from the turbine housing on the exhaust manifold, leaving a straight open dump DIRECTLY into the intake pick up, think of it as the worst EGR ever AFTER!
Boring videos for now- mostly just something to appreciate the motor. There will be more coming of the car itself. This post has been edited by StraightAwayZ on Feb 9 2010, 01:54 PM |
||||||||||
|
|
| Oddmanout84 |
Posted: Mar 3 2010, 11:25 PM
|
|
Resident Alcoholic Group: Advanced Members Posts: 1,033 Member No.: 3,693 Joined: Sep 25th 2008 Location: My garage, waiting for overnight part from JP |
I'm curious. What turbo are you running with your setup?
|
|
|
| Matz |
Posted: Mar 3 2010, 11:32 PM
|
|
manila drifter Group: Advanced Members Posts: 1,685 Member No.: 4,011 Joined: Nov 12th 2008 Location: Philippines |
the devil z in real life!!!!
|
|
|
| Nomake Wan |
Posted: Mar 4 2010, 12:04 AM
|
||
|
梓県警察峠部 Group: Core Members Posts: 1,094 Member No.: 223 Joined: Jun 11th 2007 Location: Orange, CA |
It's a magical egay chinese special turbo that puts 300 to the wheels even when cylinder 5 has like 80 psi of compression.  |
||
|
|
| Oddmanout84 |
Posted: Mar 4 2010, 08:06 AM
|
||
|
Resident Alcoholic Group: Advanced Members Posts: 1,033 Member No.: 3,693 Joined: Sep 25th 2008 Location: My garage, waiting for overnight part from JP |
Magical as in its decent quality? Did he crack it open and check the internals over? I would have, and I had considered buying one of those a while ago for my setup. However I had two stock ZX turbos laying around and decided it would be better to just rebuild them. Seemed silly for me to enter the turbo crowd with something bigger than that before I gained some experience. I'd still consider it now that I'll hopefully be able to tune. Though they seem to be really hit and miss due to bad QC, If the internals are checked and maybe even replaced with real Garrett internals I don't see why they shouldn't be alright to use. I just wouldn't push it anywhere near the numbers that they boast on the ebay ads. |
||
|
|
| MaikazeFD3S |
Posted: Mar 4 2010, 08:52 AM
|
||
|
WME King Tiger Group: Advanced Members Posts: 2,533 Member No.: 3,055 Joined: Jun 13th 2008 Location: Update Profile |
Damn, I guess there is a rebuild coming soon? |
||
|
|
| Nomake Wan |
Posted: Mar 4 2010, 04:17 PM
|
||||
|
梓県警察峠部 Group: Core Members Posts: 1,094 Member No.: 223 Joined: Jun 11th 2007 Location: Orange, CA |
Something like that.
That much I don't know, but StraightAwayZ isn't a moron so I'd assume that the turbo is just fine. I have no idea what it's a knockoff of, though. |
||||
|
|
| StraightAwayZ |
Posted: Mar 7 2010, 11:26 PM
|
|
Legendary Emperor Group: Members Posts: 296 Member No.: 1,547 Joined: Nov 28th 2007 Location: Update Profile |
Rebuild? Not needed. Just going to replace the pistons, everything else is good. I must have snagged a ring when i put the motor together or something. Oh well no biggie, the head and oil pan will be comming off within the next couple of days, ill send the old pistons/rods to our machine shop with my new pistons to get pressed on, and have it back together and retuned by the end of the week.
The turbo itself came from a local socal company I know and trust, its not the ickiest of the sticky by any means- But it was 140 bucks (my price) brand new. Were good friends with the owners and ive used their parts before, so i feel fairly safe. |
|
|
| Oddmanout84 |
Posted: Mar 8 2010, 07:00 PM
|
||
|
Resident Alcoholic Group: Advanced Members Posts: 1,033 Member No.: 3,693 Joined: Sep 25th 2008 Location: My garage, waiting for overnight part from JP |
OOOOOOOOOOOoooooooooooooooooo... can I have one?  What's it based off of, by the way? T3/TO4E? |
||
|
|
| StraightAwayZ |
Posted: Mar 10 2010, 01:38 AM
|
|
Legendary Emperor Group: Members Posts: 296 Member No.: 1,547 Joined: Nov 28th 2007 Location: Update Profile |
Indeed it is. .6 trim. If youre honestly interested in one let me know and ill inquire about it. I cant garuntee that price as thats kind of the "hook up" price for me and starion as we know the owner of said company (and id liek to avoid stepping on any toes and setting fire to brides), but im sure it would still be a good deal. If youre still interested feel free to PM me and ill get some information for you.
Update: Took 2 hours, but got the pistons out. Prognosis? Cylinder 5s ringlands gave up the ghost. Have a clue to why, a mistake i made? fatigue? Not a clue, and sadly will never truely know. Oh well- off to the shop tomorrow to have my new pistons put onto the rods. Be interesting to see what kind of power it makes when a cylinder isnt running on half compression. Expect some pictures soon. This post has been edited by StraightAwayZ on Mar 10 2010, 10:08 PM |
|
|
| StraightAwayZ |
Posted: Apr 28 2010, 03:03 AM
|
|
Legendary Emperor Group: Members Posts: 296 Member No.: 1,547 Joined: Nov 28th 2007 Location: Update Profile |
Guess whos back
 Today being such a good day, I thought id update. Rebuilt the motor in no time after my last post, just had other things get in the way between now and then. The culprit? 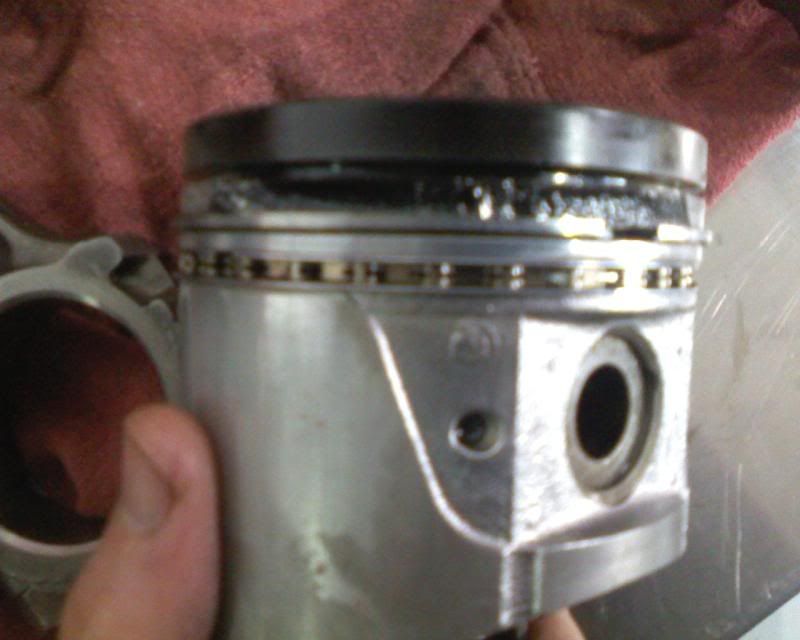 On the upside, it worked out for the best and im glad i got to rebuild it again. I had the opportunity to do things much better than the first time (like painting the block). 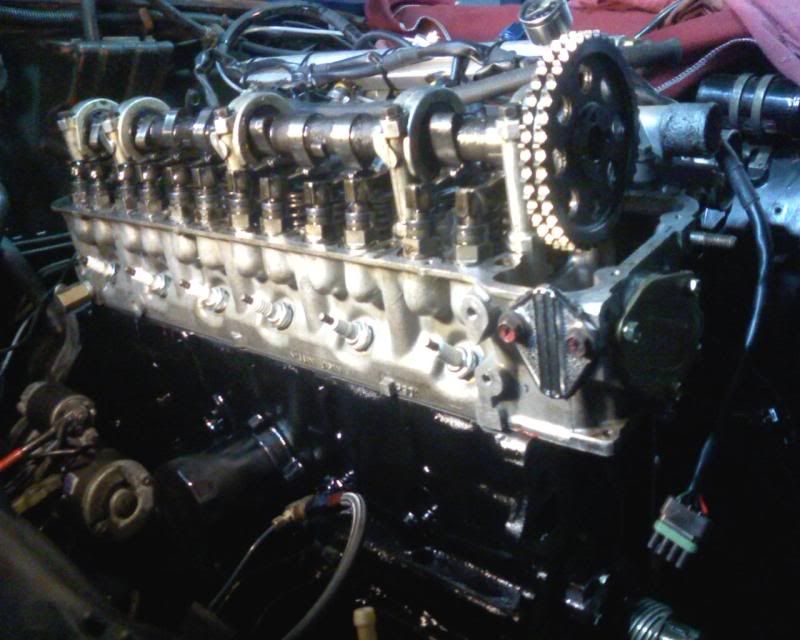 (take a look at that sexy radiator, yum yum- thanks to starion for one of the most bad ass birthday presents) And the results? 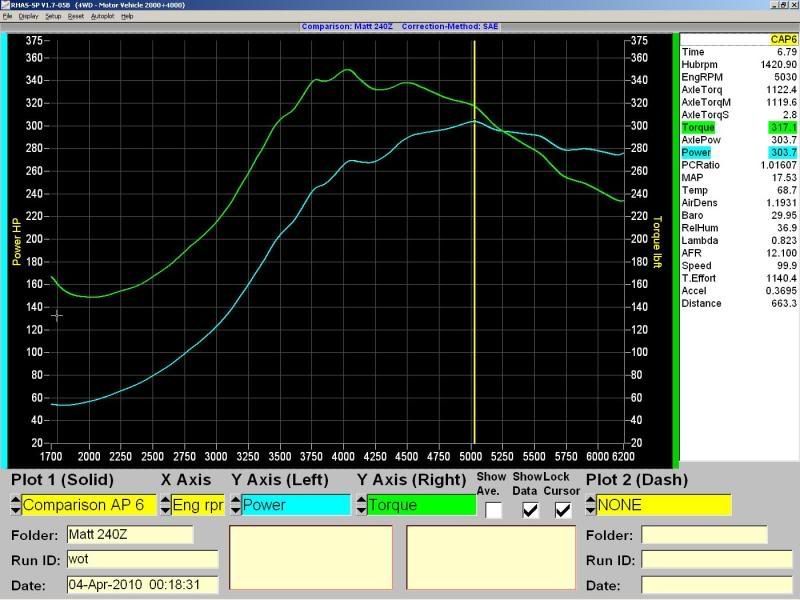 About 300 whp @ 17.5 psi, and about 350 pounds of torque. 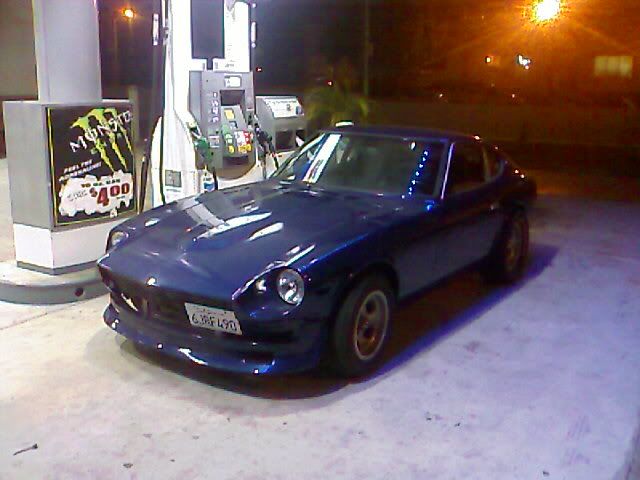 After working out the rest of the issues (Ie a fuel leak at the gas tank, rather annoying as this was the last thing holding up the car, a 10 dollar rubber oring at the fuel sending unit) and some test-driving around town- I woke up today, packed up, and finally got back to vegas with the thing. Its great to be done and to finally be home |
|
|
| 2 Pages |
|
Powered by Invision Power Board 1.3.1 Final © 2003 IPS, Inc.